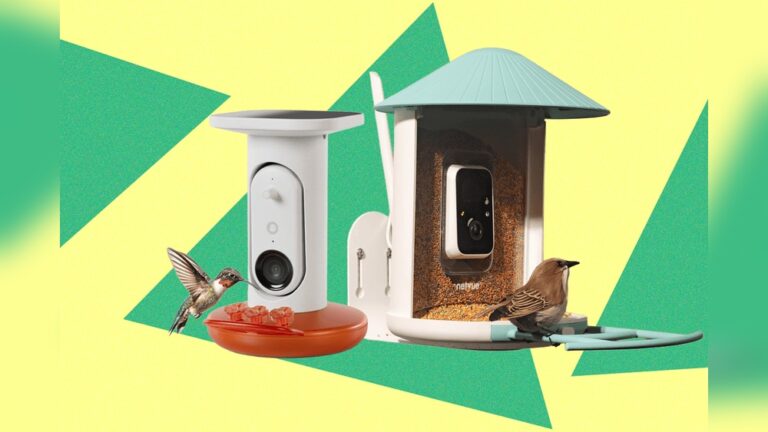
How I Created A Diy Bird Feeder Step By Step Guide
Have you ever wanted to attract colorful birds right to your backyard? Creating your own DIY bird feeder is easier than you think, and it’s a fun way to connect with nature.
In this step-by-step guide, you’ll learn exactly how to build a simple bird feeder using materials you probably already have at home. By the end, you’ll have a beautiful feeder that invites birds to visit and brighten your day. Ready to see how simple and rewarding it can be?
Let’s dive in!
Credit: www.nhm.ac.uk
Choosing Materials
Choosing the right materials is key to building a durable and safe bird feeder. Good materials ensure the feeder lasts through weather changes. They also keep birds safe and comfortable while feeding.
This step guides you through selecting wood, tools, and bird-friendly features. Each choice matters for a successful DIY project.
Selecting Safe Wood
Choose untreated, natural wood. Avoid wood with chemicals or paint. Cedar and pine work well. They resist weather and are safe for birds. The wood should be smooth to prevent splinters. Cut pieces to size before starting assembly.
Gathering Tools
Gather simple tools like a saw, hammer, and nails. Sandpaper helps smooth rough edges. A drill can make holes for hanging. Keep tools ready before starting. This saves time and effort during building.
Picking Bird-friendly Features
Add features that help birds feed easily. A small roof protects seeds from rain. Include drainage holes to keep seeds dry. Use wide perches for comfortable landing. Avoid sharp edges or small parts birds can swallow.
Credit: www.lovethegarden.com
Designing Your Feeder
Designing your bird feeder is a fun and creative step. This phase sets the base for a feeder that suits your space and attracts birds. Careful planning helps make a feeder that lasts and looks good. Think about how birds will use it and what fits your style.
Start with a clear plan. This saves time and avoids mistakes. Simple sketches and thoughtful choices lead to a successful DIY project. Below are key parts to focus on during the design stage.
Sketching The Layout
Begin by drawing your ideas on paper. Sketch the feeder’s shape and parts. Show where seeds will go and where birds can perch. This helps visualize the final product clearly. Use simple lines and shapes. Don’t worry about art skills. Just get your ideas down.
Deciding On Size And Shape
Choose a size that fits your outdoor space well. Small feeders suit balconies or small yards. Larger feeders work for open gardens. Pick a shape that is easy to build. Rectangles and squares are simple. Rounded edges can be tricky but look nice. Make sure birds can land and feed easily.
Planning For Weather Resistance
Protect your feeder from rain and sun. Use materials like treated wood or plastic. Plan a roof or cover to keep seeds dry. Avoid parts that trap water. Strong joints help the feeder last longer. Think about how wind might affect the feeder’s stability. A sturdy design means fewer repairs.
Cutting And Preparing Wood
Cutting and preparing wood is the first important step in building a DIY bird feeder. This step shapes the wood pieces to fit the design. Taking time here makes assembly easier and the final product strong.
Using the right tools and careful technique helps avoid mistakes. Each cut must be accurate to ensure the feeder parts fit well together. Preparing the wood properly also makes the feeder safe for birds.
Measuring And Marking
Start by measuring the wood pieces carefully. Use a ruler or tape measure for accuracy. Mark the cut lines with a pencil. Double-check each measurement before cutting. Clear marks guide the saw for straight cuts.
Sawing Techniques
Use a handsaw or power saw depending on your tools. Cut slowly along the marked lines. Keep the saw steady to avoid jagged edges. Use clamps to hold the wood steady while cutting. Always wear safety glasses during sawing.
Sanding For Smooth Edges
After cutting, sand each wood piece. Use fine-grit sandpaper for smooth edges. Sand all surfaces that birds might touch. This removes splinters and rough spots. Smooth wood is safer and looks nicer for the feeder.

Credit: www.youtube.com
Assembling The Feeder
Assembling the bird feeder is a crucial step in this DIY project. It brings all the parts together to create a functional feeder. Careful assembly ensures the feeder is sturdy and safe for birds.
Joining Pieces Together
Start by aligning the wooden panels carefully. Use wood glue on the edges to hold them firmly. Then, secure the panels with small nails or screws. Make sure the corners are tight and even. This creates a strong frame for your feeder.
Adding Feeding Ports
Mark the spots where birds will access the food. Drill holes or cut openings that fit small bird beaks. Smooth the edges to avoid harm. These ports let birds reach seeds easily. Place them evenly around the feeder for better access.
Installing Perches
Choose small wooden dowels or sticks as perches. Attach them just below the feeding ports using glue or screws. Perches give birds a place to sit while eating. Ensure they are sturdy and well fixed. This makes the feeder more inviting and useful.
Finishing Touches
Finishing touches make your DIY bird feeder ready for the outdoors. They protect the wood, add charm, and keep the feeder safe and steady. These steps help your feeder last longer and attract more birds.
Applying Protective Coating
Start by applying a clear, weatherproof sealant to the wood. This protects the feeder from rain and sun damage. Use a brush to cover all surfaces evenly. Let the coating dry completely before moving on. This step extends the feeder’s life and keeps it looking fresh.
Decorating Your Feeder
Add simple decorations to make the feeder inviting. Use non-toxic paint or natural colors to avoid harming birds. You can paint small patterns or leave it natural for a rustic look. Avoid shiny or bright colors that might scare birds away. Keep decorations light and safe for wildlife.
Ensuring Stability
Check that your feeder hangs or stands firmly. Use strong hooks or sturdy poles to hold it in place. Test by gently shaking the feeder to see if it wobbles. Secure loose parts with screws or glue. A stable feeder prevents spills and keeps birds comfortable while feeding.
Placing And Filling
Placing and filling your DIY bird feeder correctly helps attract birds and keeps them safe. The right spot makes birds comfortable and encourages visits. Filling it with suitable food keeps birds healthy and happy. Keeping the feeder clean prevents diseases and keeps birds coming back.
Choosing The Location
Pick a quiet spot away from busy areas. Birds feel safer in places with some cover. Near trees or bushes is best for protection from predators. Avoid spots too close to windows to stop bird collisions. Make sure the feeder is easy for you to reach for refilling and cleaning.
Filling With Bird Food
Use fresh bird food suitable for local birds. Sunflower seeds attract many types of birds. Avoid old or moldy seeds that can harm birds. Fill the feeder just enough to prevent waste. Refill regularly to keep food fresh and inviting.
Maintaining Cleanliness
Clean the feeder every two weeks or after rain. Use warm water and mild soap to wash it. Rinse well to remove all soap traces. Dry the feeder before refilling to stop mold growth. Clean feeders help keep birds healthy and safe.
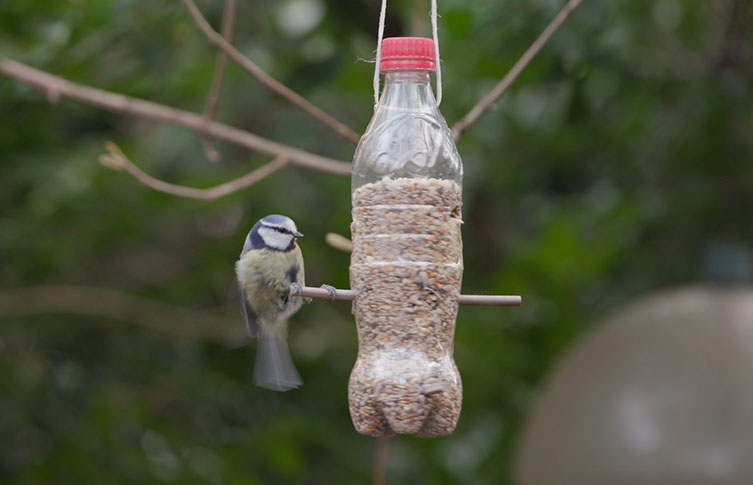
Attracting Birds
Attracting birds to your DIY bird feeder is the most rewarding part. It brings life and color to your garden or balcony. To invite a variety of birds, you must focus on their needs. Food choice, timing, and environment matter a lot. These factors help you enjoy watching birds every day.
Selecting Seed Types
Different birds prefer different seeds. Black oil sunflower seeds attract many small birds. Nyjer seeds bring finches and small songbirds. Peanuts and millet are favorites for larger birds. Avoid cheap mixed seeds with filler ingredients. Choose fresh seeds to keep birds healthy and happy.
Timing And Patience
Birds take time to find a new feeder. Place your feeder early in the morning. Birds are most active at dawn and dusk. Watch quietly and wait for a few days. Avoid sudden movements to keep birds calm. Patience is key to seeing more bird visits.
Creating A Bird-friendly Environment
Birds like safe, quiet places to feed. Add nearby trees or bushes for shelter. Avoid placing feeders near busy roads or noisy spots. Clean the feeder regularly to stop diseases. Provide fresh water nearby for drinking and bathing. A comfortable space encourages birds to return often.
How Smart Pets Lover Can Help You with How I Created A Diy Bird Feeder Step By Step Guide
Practical Learning Through Building Your Bird Feeder
Creating a DIY bird feeder is more than just a craft project—it’s an opportunity to deepen your connection with nature and sharpen practical skills. When you choose materials thoughtfully and design your feeder with local birds in mind, you’re engaging in mindful decision-making that benefits both you and your feathered visitors. Cutting and preparing wood carefully teaches patience and precision, while assembling the feeder encourages problem-solving and creativity.
At Smart Pets Lover, we believe these hands-on experiences help pet parents feel more confident and connected—not just with their pets, but with all creatures. As you finish and place your feeder, you’ll notice how simple actions attract a variety of birds, turning your backyard into a lively sanctuary. If you want more insights on bird-friendly designs or tips on attracting specific species, feel free to reach out to our community of passionate animal lovers. Remember, every step you take in this process tells a story of care and curiosity.
Frequently Asked Questions
What Materials Do I Need For A Diy Bird Feeder?
You need wood, screws, nails, a drill, sandpaper, and birdseed. Optional materials include paint and waterproof sealant for durability and aesthetics.
How Long Does It Take To Build A Bird Feeder?
Building a bird feeder typically takes 1 to 2 hours. Time varies based on design complexity and your DIY skills.
Can I Use Recycled Materials For My Bird Feeder?
Yes, recycled materials like old wood and containers work well. They are eco-friendly and cost-effective for DIY bird feeders.
Where Should I Place My Diy Bird Feeder?
Place it in a quiet, shaded area away from predators. Ensure it’s visible for birdwatching and easy to refill.
Conclusion
Creating a DIY bird feeder is simple and fun. You only need a few materials and some patience. Watching birds visit your feeder brings joy and peace. This project helps you connect with nature at home. Plus, it saves money compared to store-bought feeders.
Try making one today and enjoy birdwatching anytime. Small steps lead to great rewards. Your garden will feel livelier and more welcoming. Give it a go and see the difference yourself.