Build Your Own Aquarium Chiller
Keeping your aquarium water at the perfect temperature is key to your fish’s health and happiness. If you’ve ever struggled with overheating tanks or expensive cooling systems, building your own aquarium chiller could be the solution you need.
Imagine having full control over your tank’s climate without breaking the bank. In this guide, you’ll discover simple steps and smart tips to create an effective chiller tailored just for your aquarium. Ready to keep your underwater friends cool and comfortable?
Let’s dive in!

Credit: www.fishkeepingworld.com
Benefits Of An Aquarium Chiller
An aquarium chiller offers many advantages for fish tank owners. It helps keep the water temperature steady. This is very important for fish health and tank balance. A chiller also protects fish that need cooler water. It keeps them safe and stress-free. Plus, it helps aquarium equipment last longer. These benefits make an aquarium chiller a smart choice for many tank setups.
Maintaining Stable Water Temperature
Aquarium chillers keep water temperature steady all day. Sudden temperature changes can harm fish and plants. A chiller stops these changes by cooling the water. This creates a safe and stable environment. Fish stay healthy and active with steady temperatures. Stable water also helps maintain good water quality.
Protecting Sensitive Fish Species
Some fish need cooler water to survive. Tropical fish may get sick if water is too warm. An aquarium chiller provides the cool environment they need. It lowers stress and helps fish live longer. Sensitive species can thrive with the right water temperature. This makes your aquarium more diverse and interesting.
Enhancing Aquarium Equipment Lifespan
Warm water can damage aquarium equipment like filters and pumps. Heat can cause parts to wear out faster. Using a chiller keeps water cool, reducing stress on equipment. This helps pumps and filters work better for longer. A chiller saves money by lowering repair and replacement costs.
Essential Components
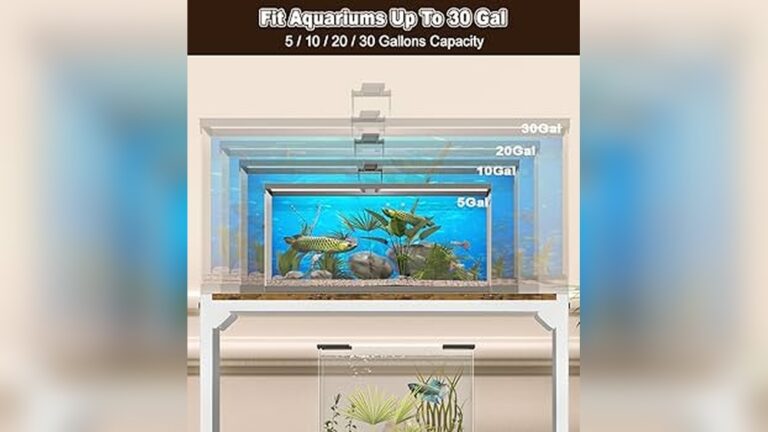
Building your own aquarium chiller needs key parts. These parts work together to keep your fish safe. Choosing the right pieces saves money and keeps water cool. Each part has a role in the chiller’s success.
Understanding these parts helps you build a strong system. Let’s look at the essential components you need.
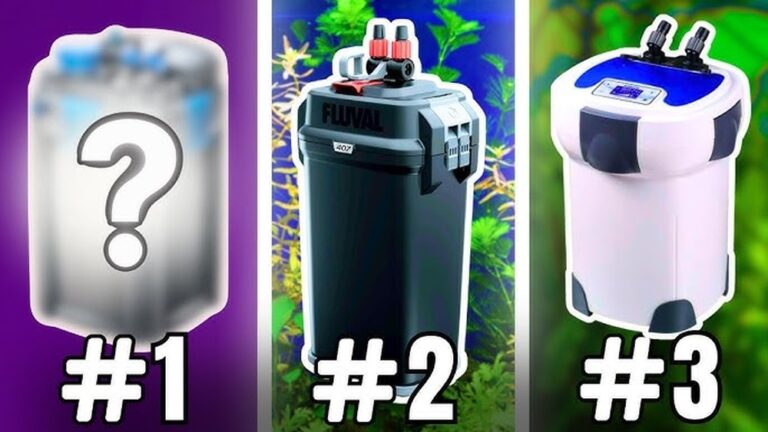
Cooling Unit Options
The cooling unit cools the aquarium water. You can use different types of coolers. A small refrigerator compressor works well for most tanks. Some use Peltier coolers for small setups. Larger tanks need bigger compressors or chillers. Choose a cooler that fits your tank size and budget.
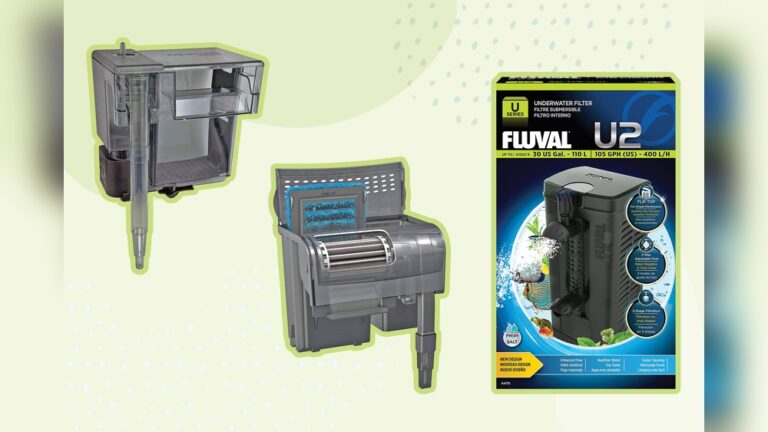
Water Pump Selection
The water pump moves water through the chiller. A steady flow is important for even cooling. Pick a pump with the right flow rate for your tank. Too weak, and water won’t cool well. Too strong, and the pump wastes energy. Quiet pumps help keep noise low. Look for reliable and energy-saving models.
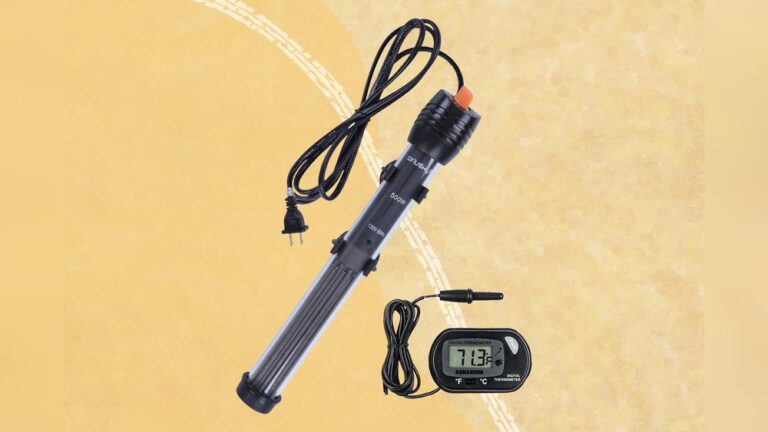
Temperature Controller Types
The temperature controller keeps water at the right coldness. Mechanical thermostats switch the cooler on and off. Digital controllers show the exact temperature. They allow precise settings and alerts. Some advanced types connect to phones. Choose one that matches your needs and skill level. Accurate control protects your fish and plants.
Step-by-step Assembly
Building your own aquarium chiller is easier than you think. Follow these clear steps to assemble it correctly. This guide breaks down the process into simple parts. Each step focuses on a key element of the chiller. You will learn how to prepare the cooling system, set up water circulation, and integrate temperature controls. Let’s dive into the assembly process.
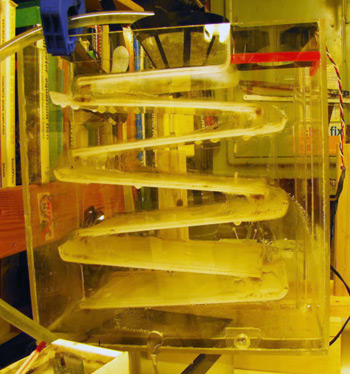
Preparing The Cooling System
Start by choosing a suitable cooling unit. Most DIY chillers use a small refrigerator compressor or Peltier cooler. Make sure the unit is clean and free of dust. Attach the cooling coils or heat exchanger securely. Use thermal paste or a good adhesive to improve heat transfer. Place insulation around the cooling parts. This helps keep the cold inside and saves energy. Check all connections and screws for tightness.
Setting Up Water Circulation
Next, set up the water flow through the chiller. Use a small water pump designed for aquariums. Connect tubing from the aquarium to the chiller inlet. Attach tubing from the chiller outlet back to the aquarium. Ensure all hoses are tight to prevent leaks. Position the pump to avoid noise and vibration. Test the water flow before final assembly. Water should move smoothly without blockages or air bubbles.
Integrating Temperature Controls
Temperature control is crucial for your aquarium chiller. Use a digital thermostat or temperature controller. Place the temperature sensor inside the aquarium water. Connect the sensor to the controller and the cooling unit. Set the desired temperature on the controller. The chiller will turn on and off automatically to keep water stable. Double-check all electrical connections for safety. Proper control prevents overcooling and protects your fish.

Credit: www.jonolavsakvarium.com
Installation Tips
Installing your own aquarium chiller needs care and attention. Proper installation helps the chiller work well and last longer. Follow these tips to set up your chiller correctly for the best results.
Positioning The Chiller
Place the chiller in a dry and shaded area. Avoid direct sunlight or heat sources. Make sure there is enough space around it for air to flow freely. Keep it close to your aquarium to reduce hose length. This minimizes heat loss and improves cooling efficiency.
Ensuring Proper Water Flow
Connect the chiller to your aquarium’s water system carefully. Use the right size hoses for smooth water flow. Avoid sharp bends or kinks in the hoses. Check that water flows from the aquarium to the chiller and back without leaks. Proper flow keeps the temperature stable and prevents damage.
Securing Electrical Connections
Use waterproof plugs and sockets for all electrical parts. Keep cords away from water and damp areas. Use a drip loop on cords to stop water from running into sockets. Double-check all connections before turning the chiller on. Safe wiring prevents accidents and keeps your system reliable.
Maintenance Practices
Maintaining your aquarium chiller is key to keeping it effective. Regular care helps avoid damage and extends its life. Simple steps make maintenance easy and safe for your fish.
Regular Cleaning Procedures
Clean the chiller’s exterior to remove dust and dirt. Wipe surfaces with a damp cloth every two weeks. Check the water lines and filters for debris. Rinse filters gently to keep water flow strong. Avoid using harsh chemicals on any part of the chiller.
Monitoring Performance
Check temperature settings daily to ensure accuracy. Use a reliable thermometer inside the tank. Listen for unusual sounds like rattling or humming. Note any changes in cooling speed or noise. Keep a log to track performance over time.
Troubleshooting Common Issues
Identify leaks by inspecting connections and seals carefully. Tighten loose fittings to stop water loss. Clear blockages in tubes to restore proper flow. Reset the thermostat if the chiller stops cooling. Replace worn parts promptly to prevent bigger problems.
Cost And Energy Efficiency
Building your own aquarium chiller can save money and energy. Understanding cost and energy efficiency helps make smart choices. This section explains how to choose parts, cut power use, and save over time.
Budget-friendly Component Choices
Select parts that balance price and quality. Look for used or refurbished items to lower costs. Simple designs use fewer parts and reduce expenses. Avoid expensive features you do not need. Basic pumps and fans often work well.
Reducing Power Consumption
Use energy-efficient motors and compressors. Smaller chillers use less electricity. Add insulation to keep cold air inside. Turn off the chiller during cooler times. Timer switches help reduce running hours. Monitor the temperature to avoid overcooling.
Long-term Savings
Lower energy bills add up over months. Good maintenance keeps your chiller working well. Fix leaks and clean parts regularly. Saving energy protects your wallet and the planet. Building your own chiller pays off in the long run.
Safety Considerations
Building your own aquarium chiller is a rewarding project. Safety is very important to protect yourself and your fish. This section covers key safety points. Follow these tips to avoid accidents and keep your setup safe.
Handling Electrical Parts Safely
Always unplug devices before working on electrical parts. Use insulated tools to avoid electric shock. Keep wires dry and away from water. Check cords for damage before use. Use a ground fault circuit interrupter (GFCI) outlet. This device cuts power if it detects a problem. Never touch electrical parts with wet hands.
Preventing Water Leaks
Seal all joints and connections tightly. Use waterproof tape or sealant on fittings. Place the chiller on a stable surface to prevent tipping. Check hoses for cracks or wear regularly. Position the chiller where leaks will not cause damage. Use drip trays under the chiller as extra protection. Leak prevention helps avoid electrical hazards and water damage.
Avoiding Overcooling
Set the temperature within a safe range for your fish. Use a reliable thermostat to control cooling. Avoid setting the chiller too cold. Sudden temperature drops stress fish and can cause death. Monitor water temperature daily. Adjust settings gradually to keep the environment stable. Overcooling is harmful and costly to fix.
Credit: reefbuilders.com
How Smart Pets Lover Can Help You with Build Your Own Aquarium Chiller
Turning Aquarium Chiller Building into a Hands-On Learning Experience
Building your own aquarium chiller isn’t just about keeping your aquatic friends comfortable—it’s a wonderful opportunity to dive into practical learning. As you gather the essential components and carefully follow the step-by-step assembly, you sharpen skills in basic electronics, plumbing, and temperature regulation. This hands-on process deepens your understanding of how each part—from the compressor to the coolant—works together, making maintenance and troubleshooting far less daunting.
By focusing on installation tips and safety considerations, you also develop a mindset that prioritizes your pet’s well-being and energy efficiency, reflecting a responsible approach to pet care. At Smart Pets Lover, we know that every project like this strengthens your connection with your fish and builds confidence as a pet parent.
If you have questions or want to share your experience, feel free to reach out. Sometimes, a little guidance is all it takes to turn curiosity into expertise—because where every wag, purr, and chirp tells a story, learning is part of the journey.
Frequently Asked Questions
What Materials Are Needed To Build An Aquarium Chiller?
To build an aquarium chiller, you’ll need a thermoelectric cooler (Peltier module), heat sinks, a water pump, a power supply, and tubing. These components work together to remove heat and maintain a stable aquarium temperature efficiently and cost-effectively.
How Does A Diy Aquarium Chiller Work?
A DIY aquarium chiller uses a Peltier module to transfer heat from water to a heat sink. The water pump circulates aquarium water through the system, cooling it before returning it to the tank. This process keeps the aquarium water at a desired, stable temperature.
Can I Control The Temperature With A Homemade Chiller?
Yes, you can control the temperature using a thermostat or temperature controller. This device regulates the power to the Peltier module, ensuring precise cooling and preventing overcooling. It helps maintain a safe and consistent temperature for your aquarium inhabitants.
Is Building An Aquarium Chiller Cost-effective?
Building your own aquarium chiller can be cost-effective compared to buying commercial units. DIY chillers use affordable components and allow customization. However, consider electricity consumption and maintenance for long-term savings and efficient performance.
Conclusion
Building your own aquarium chiller saves money and gives control. It keeps water cool and fish healthy. You learn how parts work and fix problems fast. This project fits many tank sizes and needs. Start with clear steps and simple tools.
Enjoy a stable, safe home for your fish. Try it today and see the difference.